Top Menubar
Top Menubar
Top Menubar has four function sections:
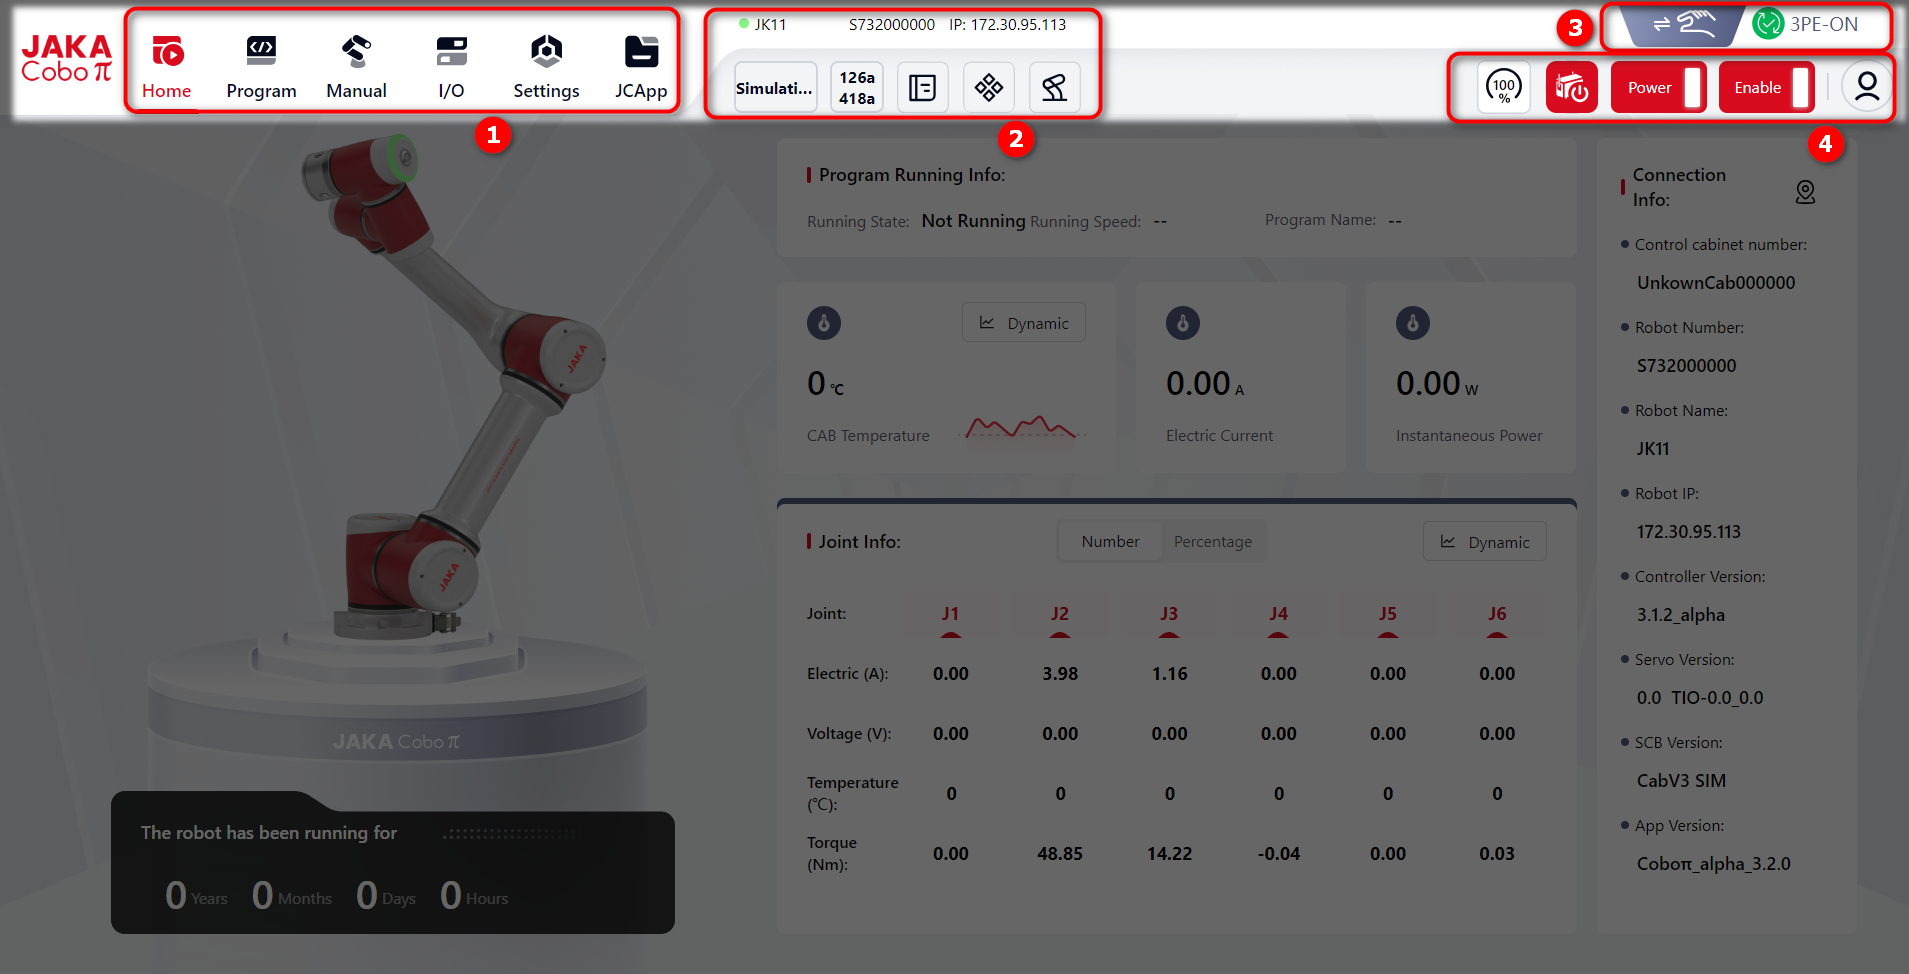
- Main Menu
- Auxiliary Functions
- Manual/Auto Mode Switch and Three-position Enable
- Robot Control Button
Main Menu

There are 6 basic function entries in the main menu: Homepage, Program, Manual, I/O, Settings, and JCApp.
Users can click each icon to enter the corresponding interface.
Auxiliary Functions

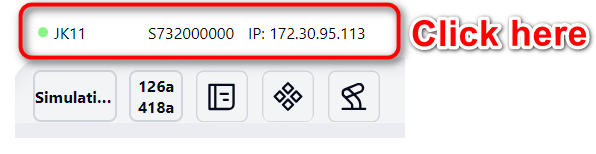
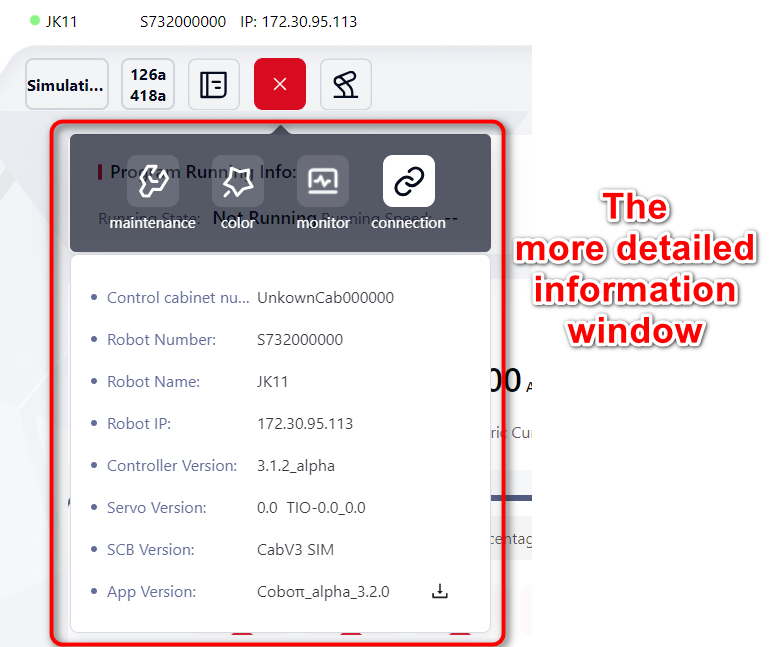
Robot Information Display
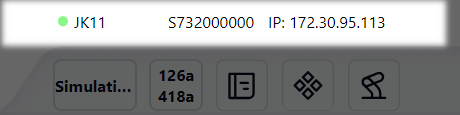
The robot's name, number and IP are displayed in order from the left to the right.
Clicking this area will open a window displaying more detailed information:
Tips:
This window is one of the Toolkit functions. Click here TBA to check the details.
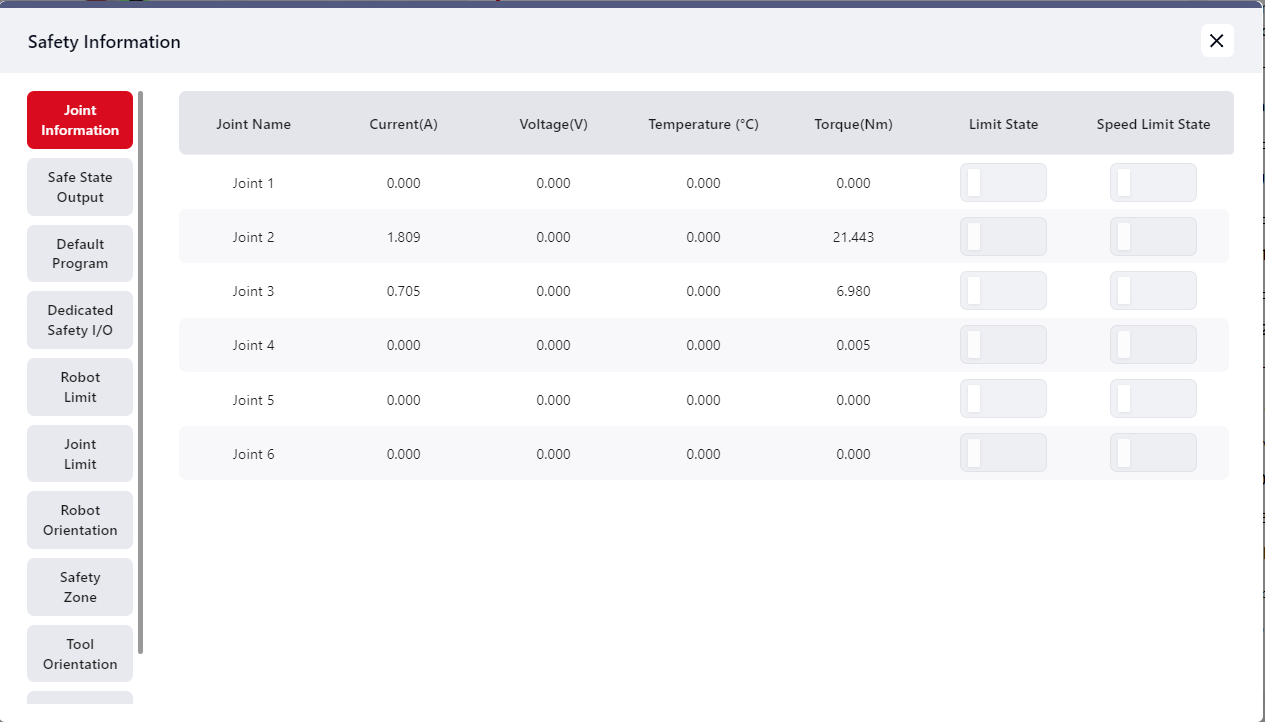
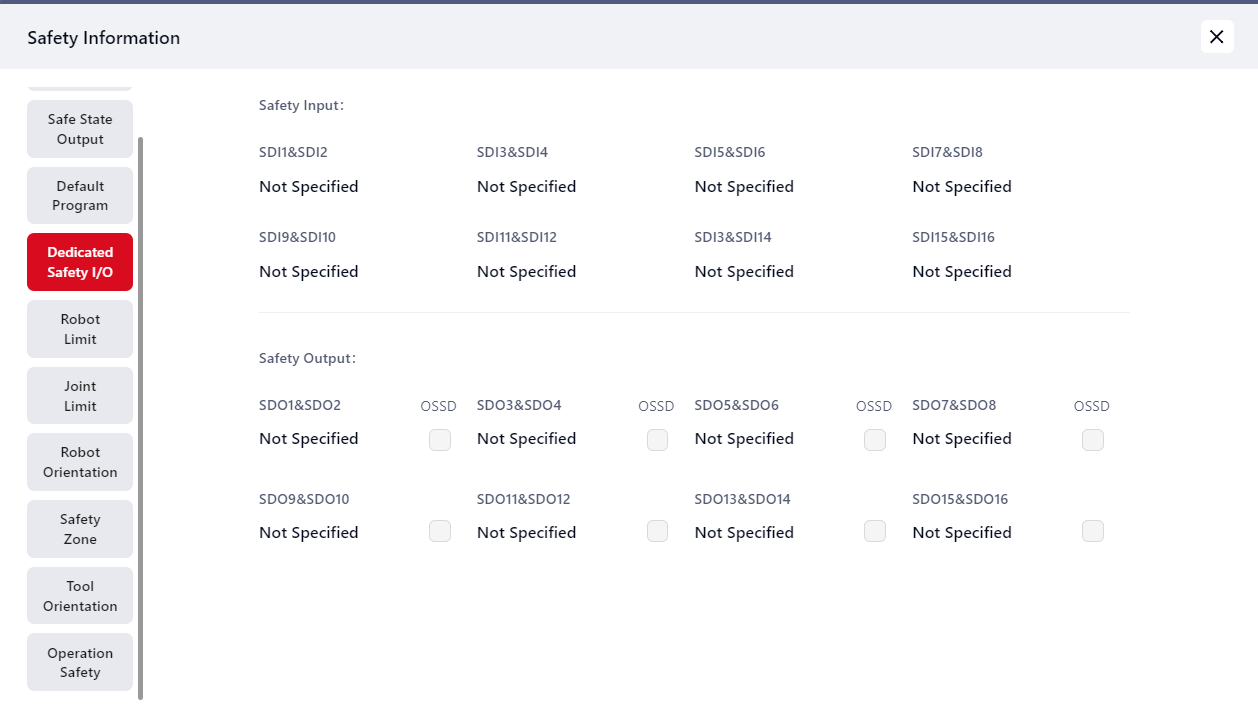
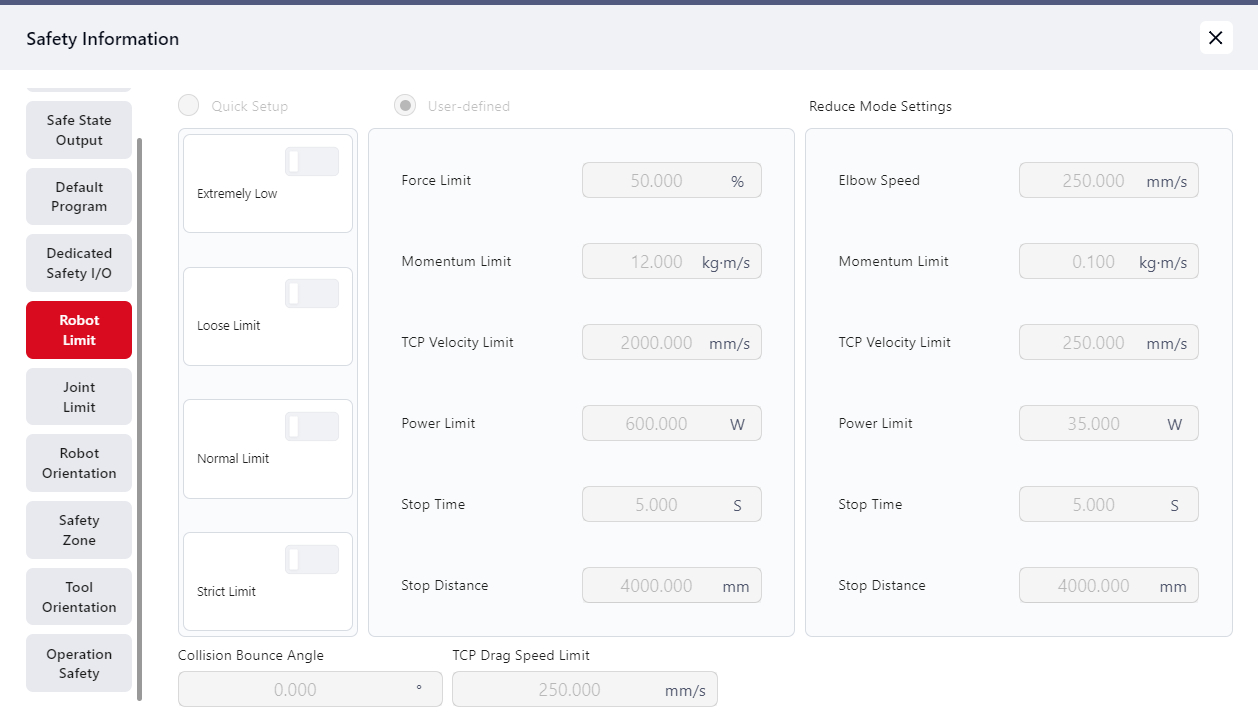
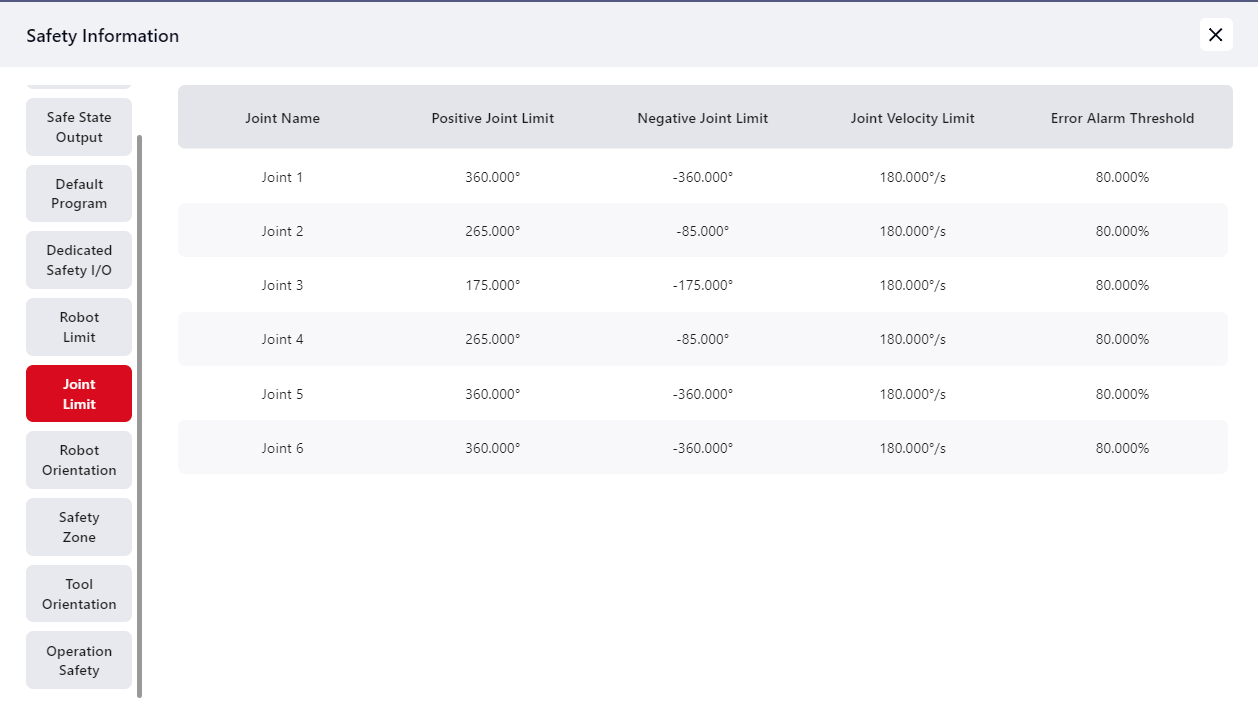
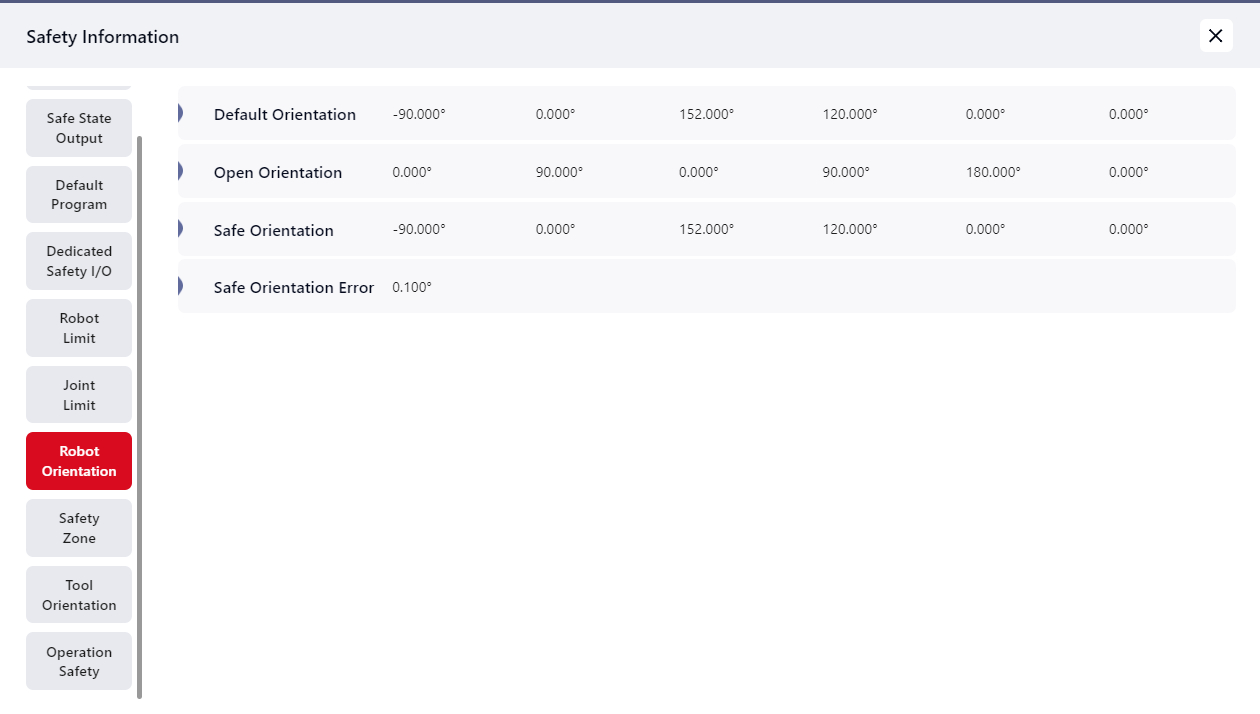
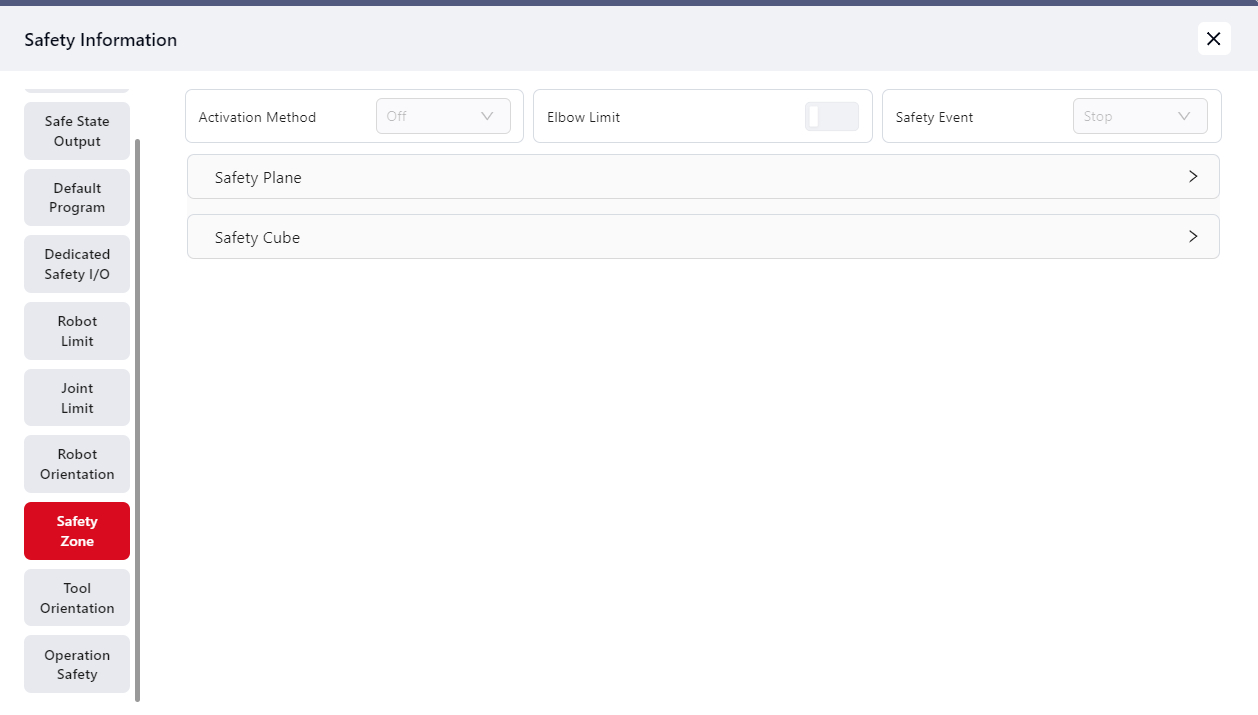
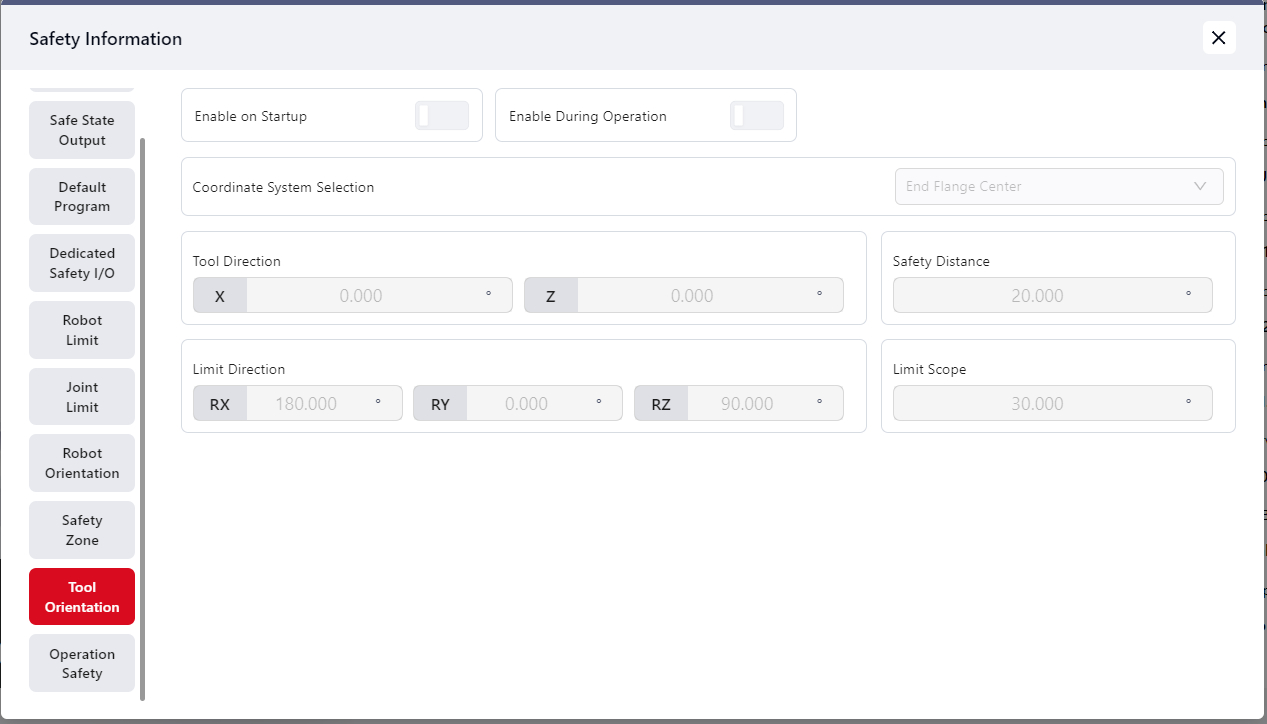
Safety Information

Users can click this icon to check the robot's safety information. These information includes:
Joint Information
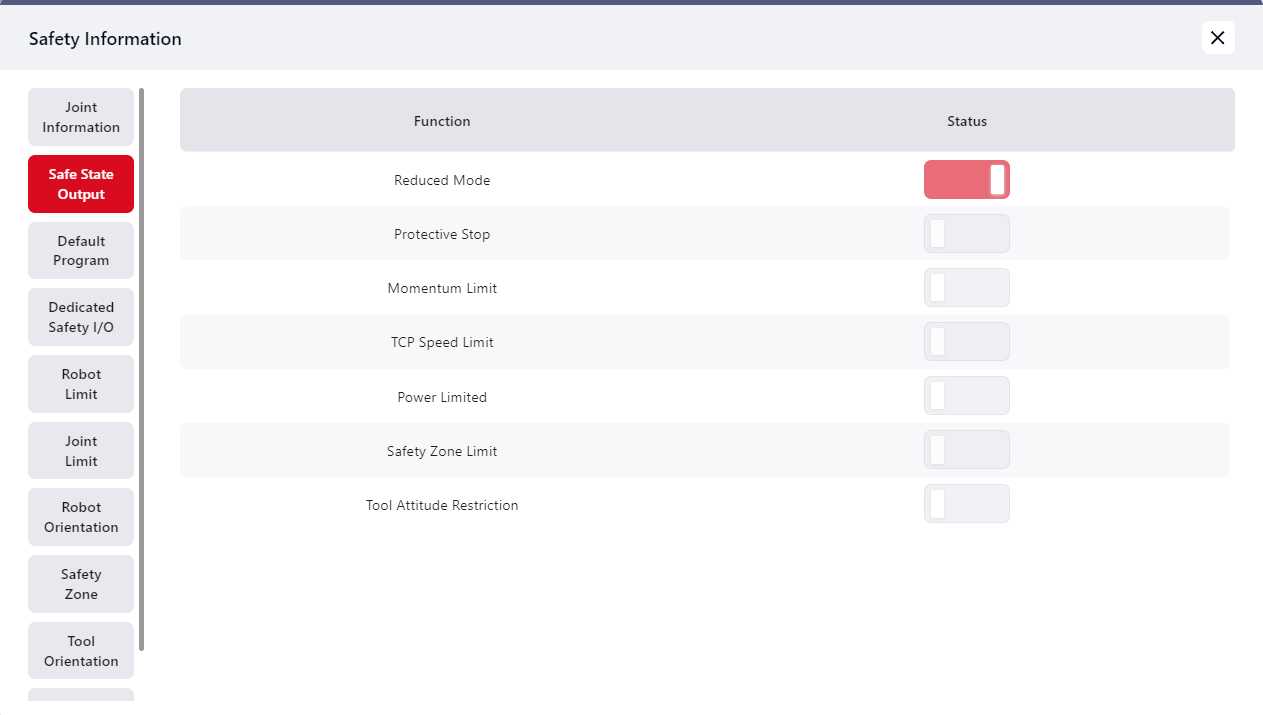
Safe State Output
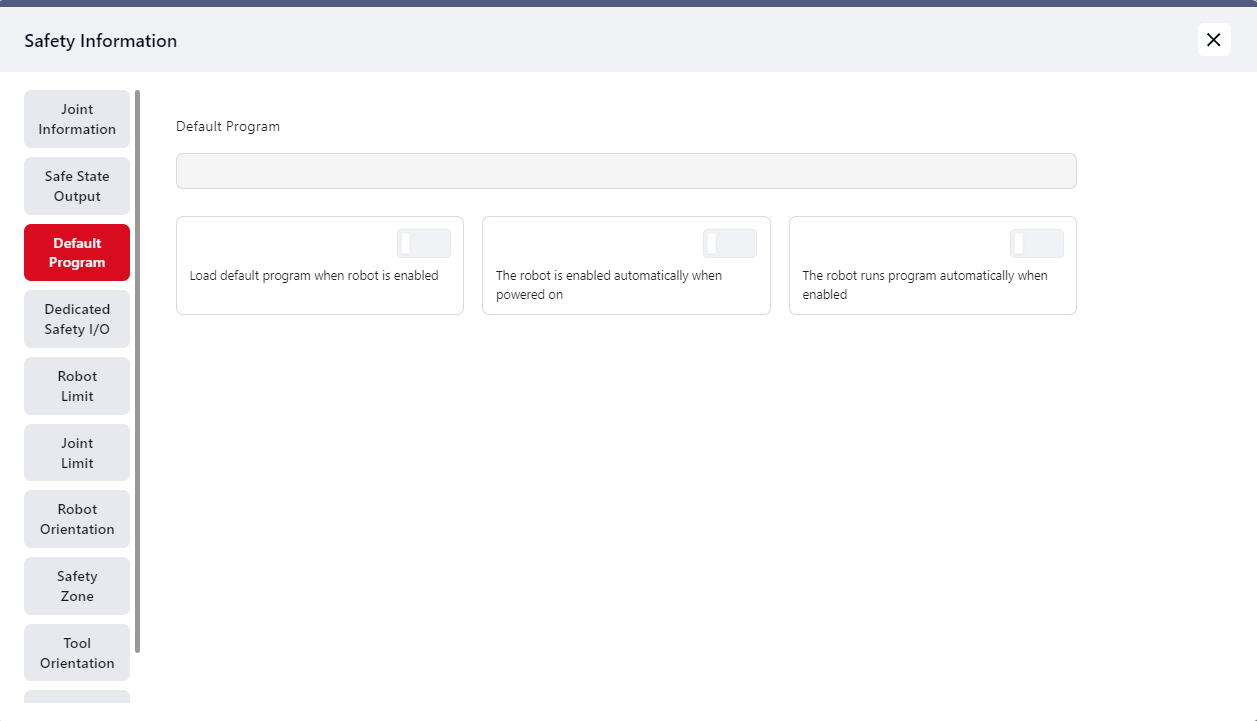
Default Program
Dedicated Safety I/O
Robot Limit
Joint Limit
Robot Orientation
Safety Zone
Tool Orientation
Operation Safety
Log
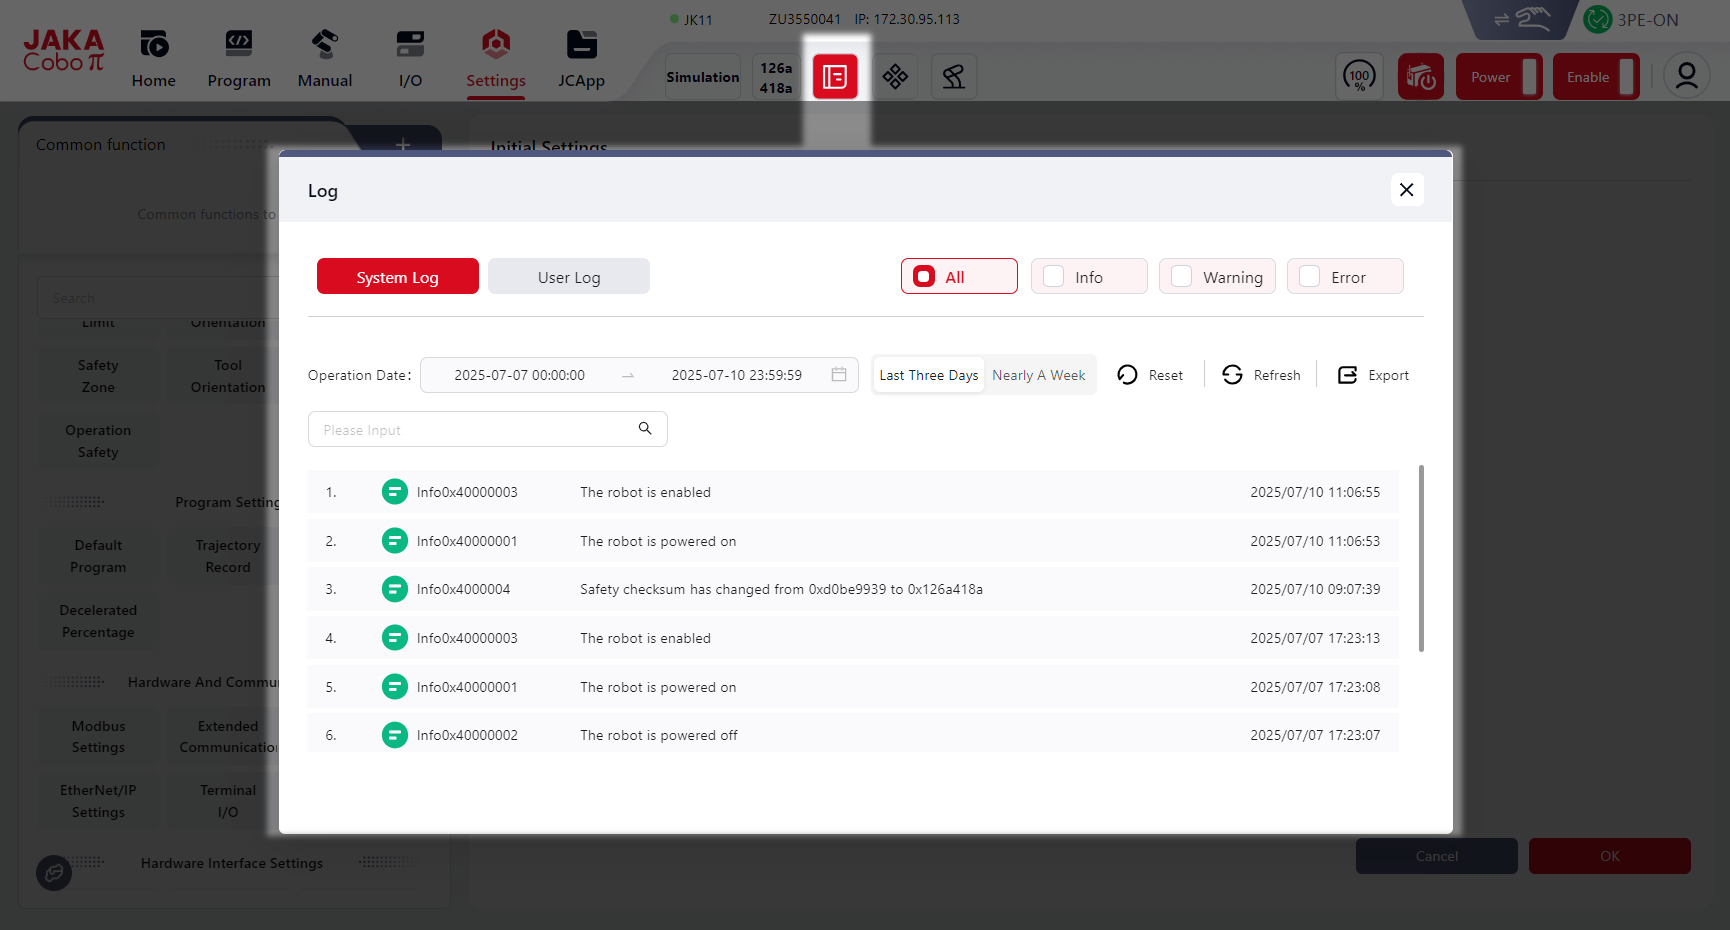
Log includes System Log and User Log:
System Log
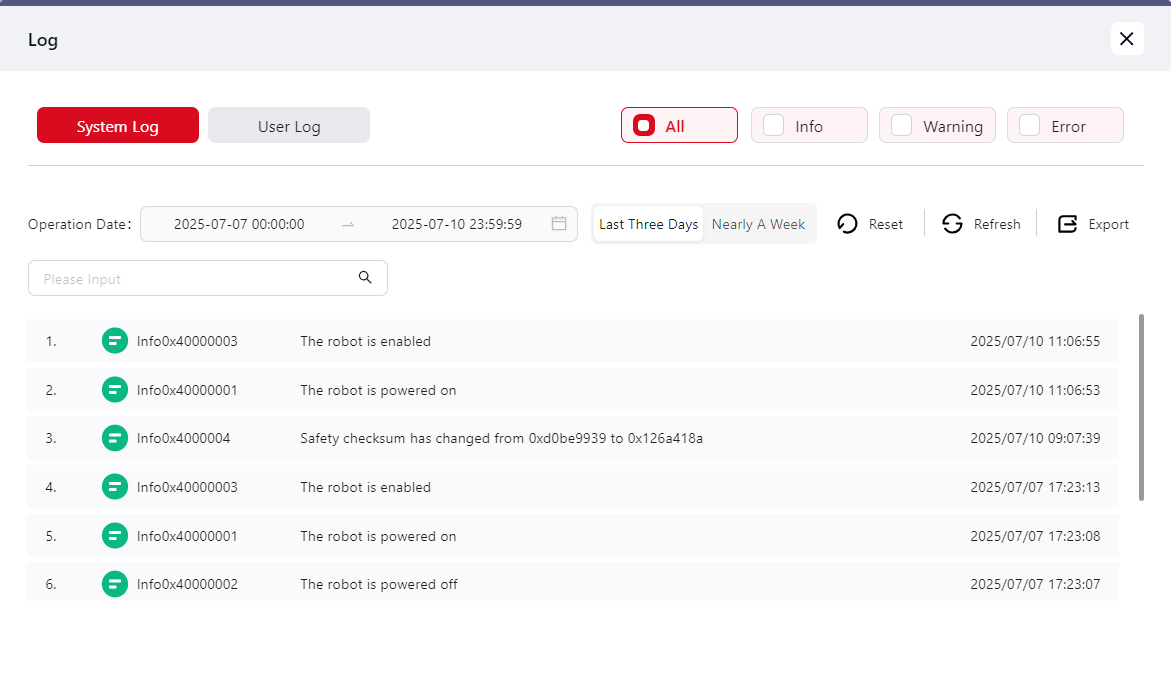
System log can be divided into Info Warning and Error. Users can click the corresponding icon to filter the specific log.
Users can click the time field next to Operation Date to filter and view the logs from a specific time point.
Users can also click Reset, Refresh, or Export to perform corresponding actions on the logs.
User Log
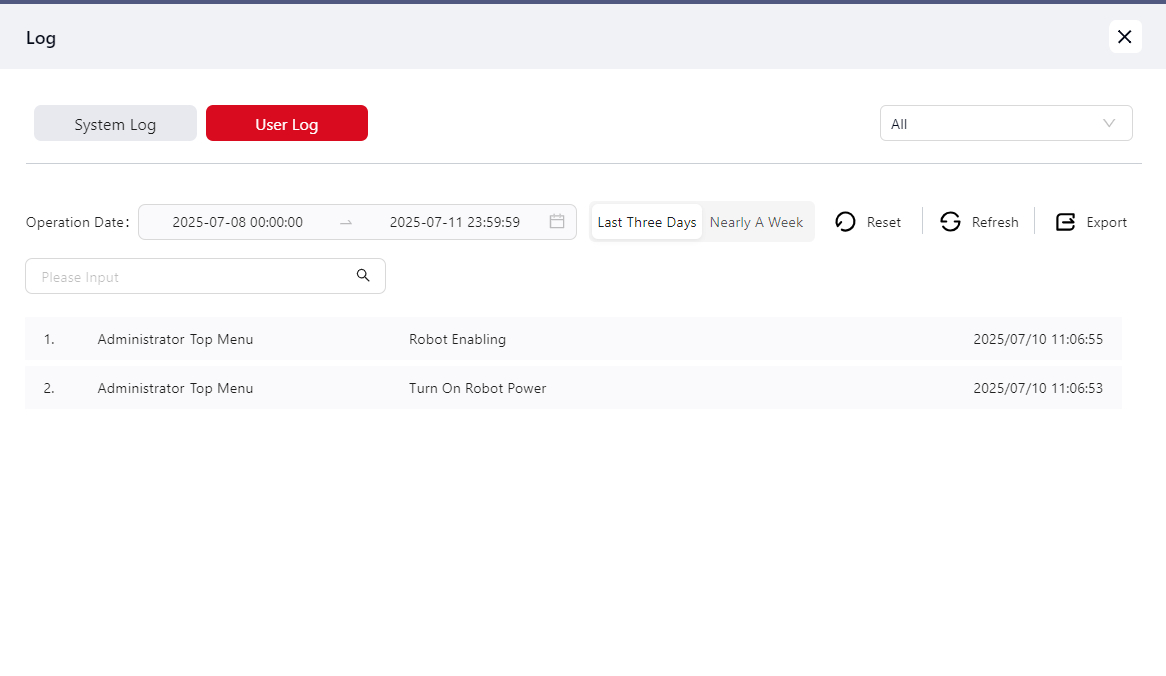
Users can click the All dropdown menu to filter the logs of different roles.
Users can click the time field next to Operation Date to filter and view the logs from a specific time point.
Users can also click Reset, Refresh, or Export to perform corresponding actions on the logs.
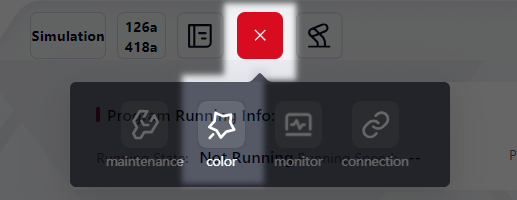
Toolkit
Users can click this icon to open the toolkit window and perform the following operations:
Color Change
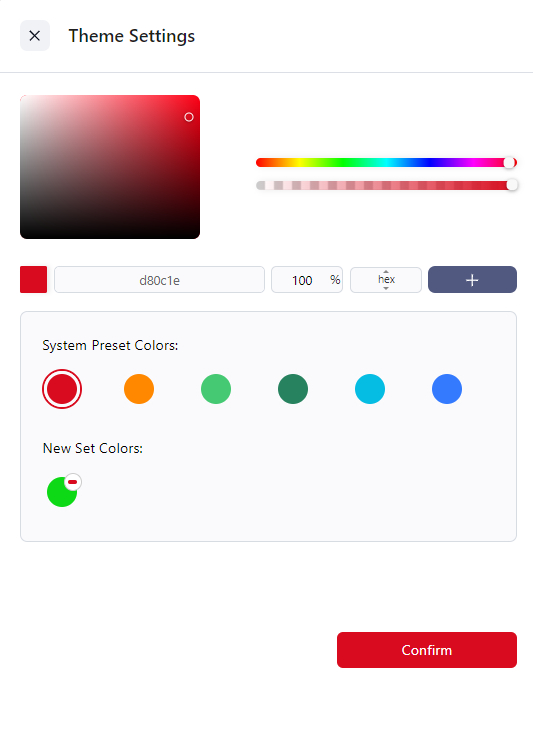
Users can select the colors in System Preset Colors, or to select one color in the color box and click + to save it in New Set Colors;
Click Confirm to apply.
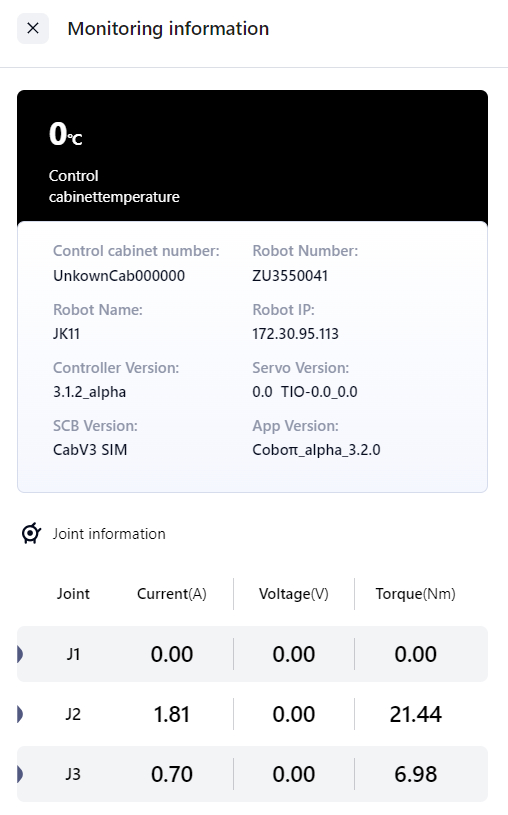
Data Monitoring
Users can click this icon to view the monitored robot data:

Connection Information
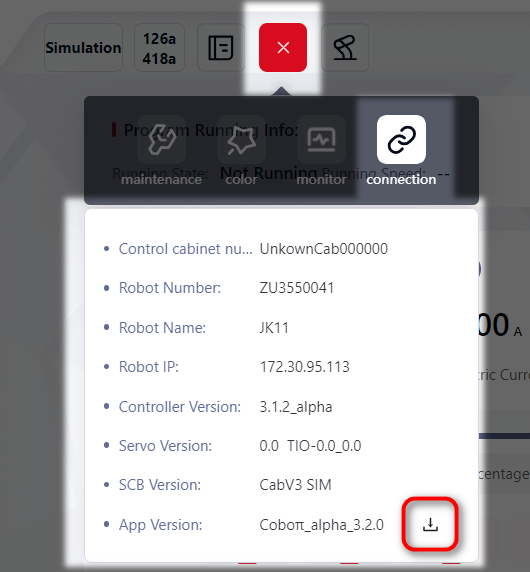
User can click this icon to view the robot connection information as showed above.
By clicking the download icon on the lower right side, users can download the system operation log to local device, preparing for the need of the technical service team when debugging.
Switch Robot

Clicking of this icon will pop up a window displaying the robots the user can switch to.
Way of connecting can refer to Normal Connection和Offline Connection
Manual/Auto Mode Switch and Three-position Enable

Manual/Auto Mode Switch
Users can click this toggle to switch between manual mode and auto mode:
Manual Mode

This is the default mode in which all functions can be performed by the users.
Auto Mode

In auto mode, the robot can perform tasks that have been set, while the users cannot teach and manually operate the robot, and cannot use the Three-position Enable function.
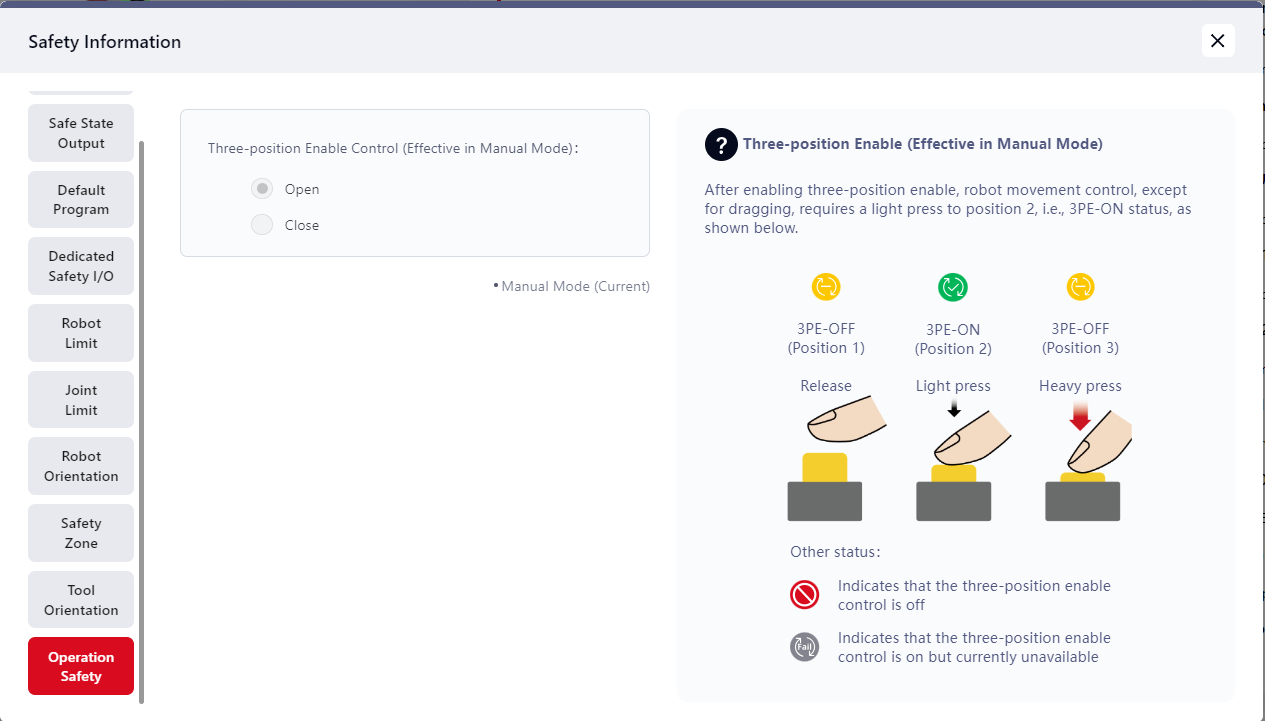
Three-position Enable
This function is only available when:
- in manual mode
- with a teaching pendant
Tips:
This interface here only displays the state of Three-position Enable function. The actual use of it needs to be done on the teaching pendant.
- When the Three-position Enable is on, this icon here would be like:

- When the Three-position Enable is on but not ready to use, this icon here would be like:

When the Three-position Enable is on and ready to use, this icon and corresponding button state would be like:
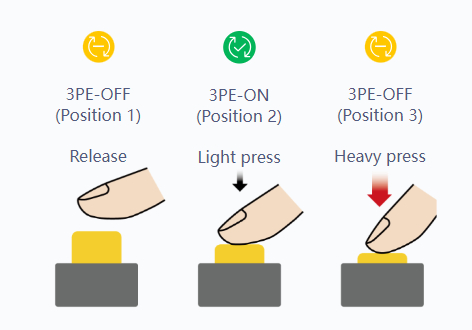
- Position 2: the robot is powered on and enabled. Users can operate the robot.
- Position 1 and Position 3: the robot stops moving immediately.
Robot Control Button

Speed Control
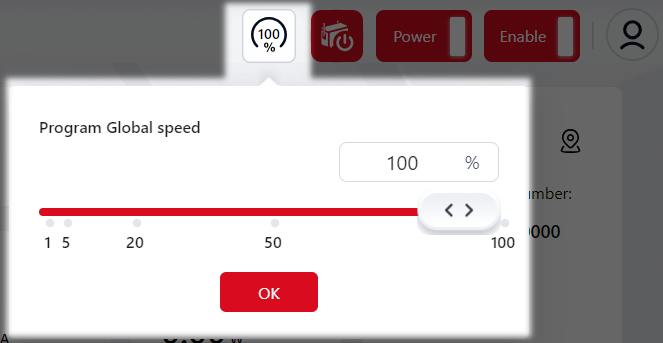
Click this icon to adjust the robot's running speed in program.
Users can enter a specific value (from 1 to 100) in the box, or drag the slider to to adjust the speed.
Control Source Switching
The robot currently supports three control sources:
- App control
- Teach pendant control
- Remote control (via SDK or Functional DI)
JAKA robots adopt a single-point control mechanism to ensure operation safety, meaning that only one control source can take charge of the robot at any given time.

Click this button can switch between app control and remote control.
When the robot is under remote control, the user can only perform operations supported by SDK and Function DI. Robot parameters and motion commands cannot be modified or executed through the app interface in such state.
Warning:
- App control has priority control authority. The user must click the switch button in the app to transfer control to the remote control source. When the robot is under remote control, clicking the switch button in the app again will transfer control back to the app.
- The robot's dedicated safety I/O is not affected by the control source.
- The diagnostic function can still be started and stopped while the robot is under external control.
- If the control source is switched to external while a program is running, the robot will pause the program and stop its motion.
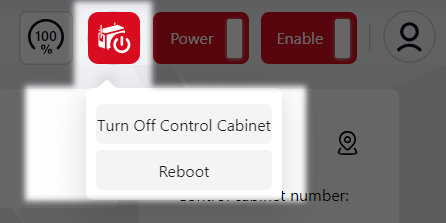
Turn off/Reboot the Control Cabinet
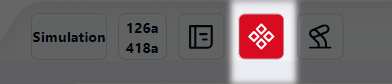
Power on/off and Enable/Disable the Robot

Click this icon to power on/off and enable/disable the robot.
This icon would be gray when the robot is powered off and disabled.
The right order would be: power on the robot first, then enable the robot.
Clicking of the power button would pop up a window asking the user to confirm the related robot information.
After confirming all the information displayed in the window, click confirm, then enable the robot.
If the user wants to disable and power off the robot, click the same icons again.
The right order would be: disable the robot first, then power off the robot.
Other Robot Information
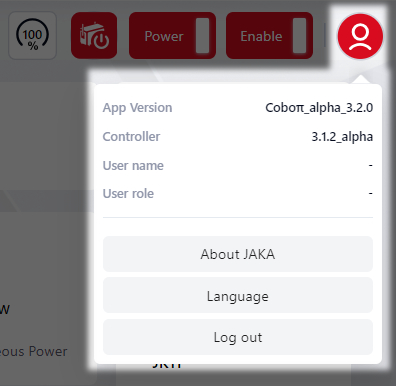
More than the information displayed in the window above, the users can also click:
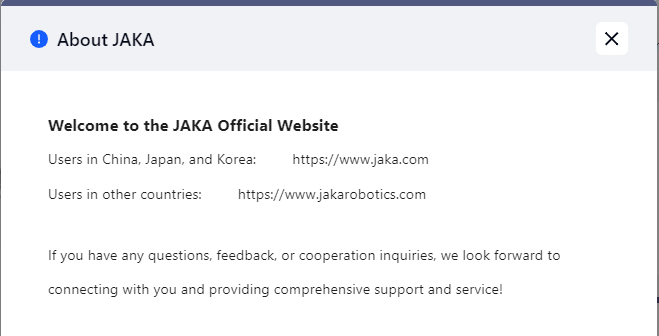
About JAKA: will pop up a window with the link of JAKA'S official website.
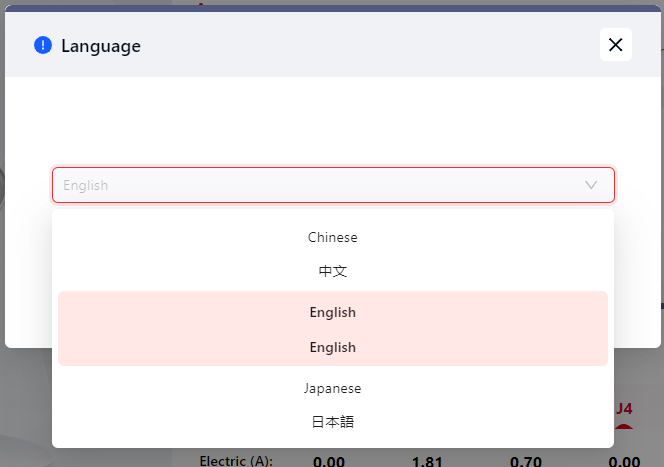
Language: to change the system language.
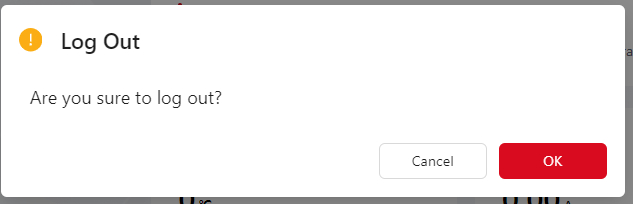
Log out: to log out the system.